
Pentax K1000 Spotmatic Mirror Cushions
$4.54 – $8.05Price range: $4.54 through $8.05
Koni-Omega Film Back Light Seals
Rated 5.00 out of 5 based on 2 customer ratings
(2 customer reviews)
$9.50
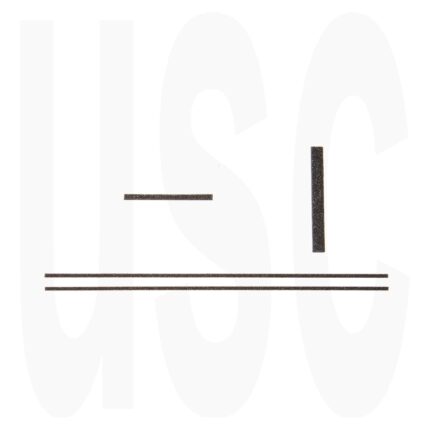
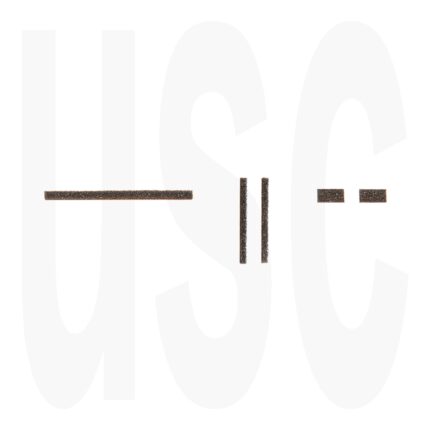
USCamera custom cut light seal kit for the Koni-Omega Rapid 120 and 220 film backs. When looking at the pressure plate, this 5-piece light seal kit includes the left channel L-shaped seal, right channel, upper channel, lower channel, and the special foam seal for the wind clutch housing channel. * Premium Black Open Cell Foam. Made in Japan.
*Removal of the original housing channel seal is not recommended.
The USCamera light seal placement guide for this kit is online.
Peeling the foam from the backing can be difficult for some. This video may help.
In stock
0
People watching this product now!
SKU:
LS-KONIOMEGA-FB, UD1223
Categories: Koni-Omega Light Seals, Light Seals
Tag: Koni-Omega Film Back Light Seals
Description
Koni-Omega Film Back Light Seals Kit | Vintage Film | Fits 120 220 Roll Film Backs
USCamera | Custom Cut Light Seals | Koni-Omega Film Cameras | American-Japanese Konica Roots | Made in Japan
Koni-Omega Film Back Light Seals Kit | Fits 120 220 Roll Film Backs
USCamera | New Used Spare Parts | 35mm Film Cameras
USCamera Free Monthly Download | Every Month | Always Free
Display all parts online at USCamera.
Please contact us with any questions or part requests. We add new parts, also light seals, and downloads almost every day.
Do you need light seals or spare parts for your camera? Then you have found the right place.
Nothing fits, looks, and performs like USCamera import parts or light seals, for that reason, Pros insist on them.
Koni-Omega Film Back Light Seals Kit
USCamera… We Know Parts and Film Cameras… So You Don’t Have To
Do you want to make your own light seal kit? Maybe you have a product that requires a special size of the light seal foam. We can help with that also.
Sometimes sheet foam can be the best. Therefore we have USCamera foam sheets in thicknesses of 1mm, 1.5mm, 2mm, 3mm, and 4mm in stock.
In addition, we have many strips of light seal foam already cut to width and 220 mm long.
Help Installing Light Seal Kits. Following the link to that short read will help improve the quality of your light seal install.
Plus USCamera light seal kit placement guides can really help you if the old light seals already have been removed.
Did you know USCamera also makes light seal kits for over 100 film cameras?
Search all makes and models of light seal kits in stock.
USCamera light seal placement guide for this Konica light seal kit. Coming soon.
USCamera Online Since 1998
Konica Spare Parts | Parts for Vintage Film Cameras | Flash | Lenses | Light Seal Kits
First of all, the most important task is removing the old seals. Focus on clean, clean, clean. I cannot stress enough, that where you place a new seal needs to be spotlessly clean.
USCamera Since 1998 | Service Parts for Cameras, Flash, Lenses | Over 100 Light Seal Kits | Service Manuals Parts Lists | Koni-Omega Film Back Light Seals Kit
Likewise, clean the old residue from the door channels, and be extremely careful when working in the mirror cushion area. Certainly, remove the old door hinge and clean anywhere else you are replacing seals.
IMPORTANT. The finest adhesive in the world will not adhere to that sticky, gooey old foam that was once a light seal. A proper and careful install will truly give you thousands of light tight pics.
In addition, we stock many vintage film camera parts, including battery covers, Fresnel lenses, lens mount screws, shutter units, wind gears, wind levers, PC boards, and focus screens.
Koni-Omega Light Seals | Premium Quality Open Cell Foam Lasts Years. Same High-Quality Japanese Foam As Original | Koni-Omega Film Cameras | USCamera Foam
Plus, flash shoe feet, lens mount contacts, gears, screws, top covers, and more.
Of course, we have photo-grade foam, the same foam used in our light seal kits. Shop all cut strips, foam sheets, and light seal kits in stock.
Koni-Omega Film Back Light Seals Kit | Fits 120 220 Roll Film Backs
Lastly, though long out of the photo business, Koni-Omega started somewhat with American roots.
Additional information
| Weight | 1 oz |
|---|
Reviews (2)
2 reviews for Koni-Omega Film Back Light Seals
Add a review Cancel reply
Shipping & Delivery
Related products
Canon EF Light Seals
$7.75
Rated 5.00 out of 5
USCamera custom light seal kit for the Canon EF Auto film cameras. The kit includes 2 door channel seals for the camera body, 1 door hinge seal and 1 replacement mirror cushion. All seals have adhesive already applied. To install just peel off the backing and press into place. Top Quality kit using imported open cell foam Made in Japan.
Help with removal, and replacement of foam seals is always available online
Light Seal Placement guide for this light seal kit, here.
Peeling the foam from the backing can be difficult for some. This video may help.
Canon F1 Light Seals
$8.00
Rated 5.00 out of 5
This USCamera custom light seal kit fits the Canon F1, and F1n Old. This old style F1 or F1n uses a 1.35-volt button cell battery for the meter. The kit includes 2 door channel seals, door hinge seal, and a replacement mirror cushion. All seals have adhesive already applied and to install you just peel off the backing and press into place. The F1n New light seal kit is available here.
USCamera light seal placement guide for this Canon film camera here.
Peeling the foam from the backing can be difficult for some. This video may help.
Canonet 19 Light Seals
$7.25
This custom light seal kit fits the older series Canon Canonet series made prior to 1970. They are generally bigger and heavier rangefinder cameras than the later models. This kit fits the Canonet 17, 19, 25, QL17, QL17 L, QL19, QL19 E and the QL25. The kit includes 1 each upper channel body seal, 1 lower channel body seal, door latch plate foam seal and 1 door hinge seal on the body. All seals have adhesive already applied and to install you just peel off the backing and install.
USCamera light seal placement guide for this model Canon film camera here.Olympus OMG Light Seals
$8.50
USCamera custom light seal kit for the Olympus OMG OM20 film cameras. This 7-piece seal kit includes lower/upper channel seals for the camera body, 1 camera body hinge seal, 1 mirror cushion, 1 back cover hinge end upper channel seal, and lower/upper seals just under the film cassette spring (latch end, back cover).
USCamera light seal placement guide for this Olympus film camera here.
Old foam removal and replacement information is always available online.
Peeling the foam from the backing can be difficult for some. This video may help.
Pentax MX Light Seals
$10.25
Rated 5.00 out of 5
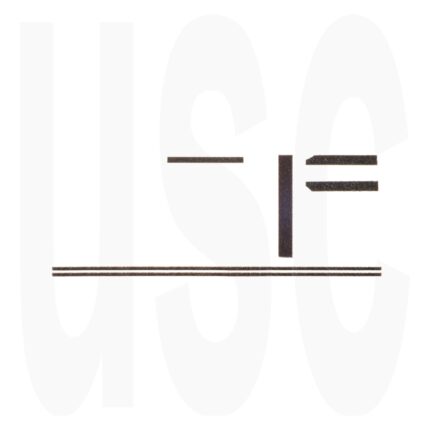
This USCamera 10 piece custom light seal set will fit all of the Pentax MX cameras. We break this kit installation into 2 different kits. 1 x 5 piece kit for the camera film compartment area and 1 x 5 piece kit for the mirror cushion area. Both kits are included in this sale as pictured, and described. If you only want the mirror cushion kit, go here.
USCamera light seal placement guide for the Pentax MX body kit.
USCamera light seal placement guide for the Pentax MX mirror cushion kit.
Old foam removal and replacement information is always available online.
Peeling the foam from the backing can be difficult for some. This video may help.
Ricoh KR5 Super-II Seals
$8.25
This custom light seal kit fits the Ricoh KR5 Super II film cameras. The kit includes 2 door channel seals on body, 2 door channel seals on back cover(hinge end), 2 door channel seals on back cover(latch end), 1 hinge seal on camera body and 1 replacement mirror cushion.
Installation help shown below.
Vivitar XC3-XC4 Light Seals
$8.25
USCamera custom light seal kit for the Vivitar XC-1, XC-2, XC-3, and the XC-4 film cameras. This 6 piece kit includes lower/upper door channel seals for the camera body, 1 mirror cushion, lower/upper door channel seals latch end, back cover, and 1 door hinge seal for the camera body.
USCamera light seal placement guide for XC series Vivitar film cameras.
Old foam removal and replacement information is always available online.
Peeling the foam from the backing can be difficult for some. This video may help.
Yashica FR Light Seals
$8.00
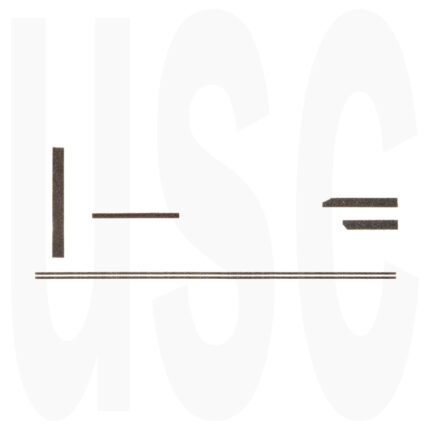
USCamera custom light seal kit for the Yashica FR FR1 FRII film cameras. This kit includes 2 door channel seals for the camera body, 1 door hinge seal on the back cover, 1 seal on the door latch plate on the back cover, door hinge seal on the camera body and 1 mirror cushion.
USCamera custom light seal placement guide for this Yashica film camera, here







spad3946_8ftbgwyvhj –
Usual high quality seals, they have never let me down. Highly recommend.
Paolo –
I just received and installed the seals for the Koni-Omega Rapid film back. The product looks great and the fit is perfect. The instructions on this page are very useful with one big omission. I followed all the instructions on this page, I got tweezers the water handy to delay the adhesive (great suggestion BTW), and so on. I’m used to building models and doing work of precision. I’m a very patient guy but removing the backing paper was the thing that stopped me. I almost ruined one of the pieces in the set even when using tweezers to try to peel off the paper.
The trick that you have on your Youtube video is perfect! Once you see it, it takes minutes to do the whole job.
Why don’t you have that video at the top of the page, prominently labeled? In fact, it would be best to embed it in the page.
It was only by chance, because I read all the comments, that I found it. That can save a lot of people a lot of frustration and possibly a lot of support calls/messages for you.
Very happy with the product, thank you for making it available.